Showing posts with label neon. Show all posts

Monday, November 19, 2012

Felt Feather Topper


Wow.  It's been awhile.  I've realized that when I am under stress, I find it hard to be very creative.  Yes my knitting of leg warmers or socks actually helps to alleviate a bit of stress - or pass the time at coffee shops when we have house showing.  I even found the time to knit up a couple of monkeys for the shop.  But the creation of projects for the blog or anything else.  Forget about it.  And to make matters worse - I can't make a mess ... it's hard to be creative if you can't make a mess.  At least for me.

So... this project is my attempt at alleviating my creative frustration, and hopefully a little bit of stress as well.

I took a watercolour class in the spring and realized - You know what?... it's not as easy as you think.  That's why I love watercolour pencils.  They let you create a painterly effect, with some sketchy colours here and there, that is much more difficult to achieve with standard watercolours and brushes.

Ali had some watercolour pencils and during the house purge I came across one of my old pocket sketchbooks.

Just like I did for my spring project for Amy, I wrapped up a pencil, in this case a watercolour pencil, with yarn.  A dab of glue at the pencil tip and another at the base is all you need to hold it in place.  (1) With my pile of felt bits I decided a feather was a great shape to go with.  I just cut the feather shapes free hand and about 3/4 's of an inch wide and 2 inches high. (3)  Another dab of glue for each feather and you have a topper for your pencil. (2)   Two feathers each pencil seemed to work well.


Now, based on my feather theme, I continued with a label.  Just a watercolour pencil feather sketch ... add water to your scratches and it is pretty effective.  I actually really loved how my feathers turned out.  I think I will play around with this style of watercolour painting again.


This is an example of an inexpensive little gift you can put together for teachers, babysitters... friends of your kids.  I loved how I could use up my stash of little bits and pieces and create something new (I'm not allowed to bring anything new into the house when we are trying to sell it ... house rules :)   )


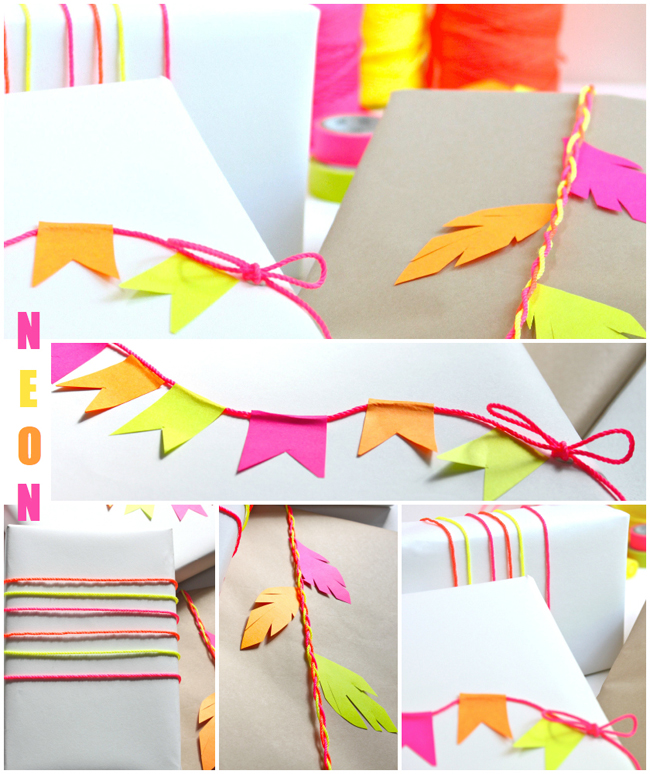
It all came together, wrapped up with a bit of yarn.  It doesn't scream holiday but sometimes that's good.

Stayed tuned later this week I will show a more fallish version of this gift topper.  But for now,  my gift giving is bright and cheery ... and quick and easy!


Monday, August 6, 2012

Kool Aid Dyed Knitting Needle Toppers


After reading stitch | craft | create magazine in the spring, and their article on dying yarn with kool-aid, I knew I had to give it a try.  I decided instead of yarn I was going to have a go with wool roving and come up with a felted project with all the bright colours.  I left the roving immersed in the kool-aid (1/2 cup water added to one package for each colour) for the better part of 24 hours.  Then according to the girls at Craft Magazine, I needed to set it in the microwave.  I put each colour of roving in its own microwavable bowl and sealed it with plastic wrap.  In for 30 seconds on high to check.  Then another 1 minute and 30 seconds to set the colour.


I decided to make topper for knitting needles and made the balls by needle felting on a felting pad using the technique I showed with my heart knitting needles and my bird pencil toppers for inspired magazine.


After the initial needle felting, I like to give the balls a hot wash in net bag in the washing machine. See the above before (left) and after (right).  I find they come out nice and compact with a consistent shape.


A little snip into the bottom of each ball for the needle and a snip (if required) of the needle top, for insertion.  Into the pouch made in each ball by the slit, I add a squirt of fabric glue - and the newly snipped needle end, and you are good to go ... or knit:)


One quick note.  You may need to add a number to your needle with permanent ink so you know what size it is. Some of the needles I use just have the size on the wooden top that you will be snipping off.


And ...  A word of caution.  After the roving dried almost completely, I put it in an aluminum pie tray to completely dry.  We were off to a cottage and when I returned I found that the kool-aid dyed roving ate through the tray.  CAN YOU BELIEVE IT ?!  Did you ever do that experiment in school where you took a tooth meant for the tooth fairy and dropped it into a cup of coke for a week to see what would happen.  And you found that your tooth was well rotted by the end of the week. (That worked for me ... never wanted to drink coke again!)  Well this does it for me with kool-aid - not that we had it around here for but it does make me think of the amount of sugar our kids can be exposed to!!!!  I asked my chemical engineer father what caused it and he things it was the citric acid and ascorbic acid in the mix.
Yikes!


I think that the reaction with the aluminum took away from some of the vibrancy of the roving but it is still a pop of colour in another wise plain pot of needles.  With the August weather (and the feeling of fall just a few weeks away) I need to stock up on fun little projects like this.  It will make my fall knitting just that much more cheerier.

Thursday, June 28, 2012

Wrapping up two months of Neon


I can't say that without a shadow of a doubt,  I'm done with neon.  But I started to realize that I have let it seep into my own life both in design, clothing and craft projects.  I just took a quick look back at some of my projects over the last couple of months and I think it might be time for a change.

There was, most recently the wrap bracelets, before that wrapping with neon twine and post-its, printing neon lace designs,  neon felt flower rings, neon coffee cuff,  a look at wraps in neon and a look at neon in design.

I think it is time to move on to other summer joys and inspirations ... okay with a little neon tucked in here and there.

Thursday, June 21, 2012

Wrap it up Thursday - Wrap Bracelets in Neon


When I picked up all that neon twine from the hardware store and started playing around with it for wrapping in this post, I realized it would be great to use for wrap bracelets.


Along with the twine, I assembled the other elements I had used for our bracelet making sessions I talked about here.


I played around with a few of the ideas we used for our bracelets made from embroidery thread, but I think this summer, we can come up with all sorts of ways of using neon twine as a bracelet.


One of my favorites is this simple braided bracelet.  Two colors of each strand simply braided together.
To make the loop for one end, I broke the strands into two of each color grouping and braided one side. (top middle)  Then I formed a loop, tied it all together and trimmed. (top right)

At the bottom I broke the strands into two color groupings and braided those and knotted (bottom middle)  Those two strands are the ties for the loop.


For the simple friendship bracelet I just used one strand of each color and followed the friendship bracelet instructions from this post.  I simply braided each end after the knots to make a simple tie. (middle)


With the bead chain and neon twine I wrapped round the leather cord like we did in our previous bracelet post.


Oh neon, I wasn't sure you were for me but now I see so many possibilities.  Just a touch of neon brightens a look and adds a little punch to your wardrobe or interior space.


I think the neon twine is going to make its way to the camp pack... I figure by then I will be sick of it and ready for fall ... Oh fall, yummy burnt orange, greys and browns ...

Thursday, June 7, 2012

Wrap it up Thursday - Neon Office Supplies


Earlier this week, I had a try at making some lace wrapping paper and while I was putting it together I came across some great twine at the hardware store.  I am sure it is always there but for some reason that day I noticed it.  Well that twine, combined with some great post-it notes Ali picked up for exam preparation, came together in a perfect storm of neon.


What I realized is that the post-it notes are perfect for embellishments on packages.  They already have a sticky top and by working your design around that sticky top, you can quickly come up with little enhancements, to what would otherwise be a simply wrapped package.


I played around with making a leaf or feather shape.  The base is the sticky part of the post-it.  This worked for dove-tailed banner shapes as well.


I really like the simplicity of the cording on it's own (left).
I loosely braided three different colours together and added my feather motif (centre).
The sticky part of the post-it at the top of each flag also helps to hold down the twine as a banner (right).


These supplies tucked into my wrapping box mean that I can wrap up a gift - lickety split.

Now I have to figure out what goes inside - whatever it is- it needs to be happy... don't you think?

Thursday, May 3, 2012

Wrap it up Thursday - Neon Packages


After I wrapped up a coffee cup a couple of weeks ago,  I decided maybe neon could hang around for awhile.  I mean, I see it everywhere from interiors to all these cute wrapping ideas.

I found a few of these from pinterest.  The polka dot packages are simply neon stickers on kraft paper.  How cute and how easy - (Project Wedding, photo Chelsea Fuss). 

I really love this look of simply painting the inside of a kraft box a bright color like this.  This would be cute for a small kraft box as well.  Found via pinterest Jeanette Lunde

The tags are from etsy Knit & Bow  found via Oh Happy Day.

How sweet to simply pack up in bright pink tissues - great in a grouping- Frolic (Project Wedding Photos Lisa Warninger) found via Jeanette Lunde    

And finally, the neon tape and paper tags from the House &Hold blog


And if you can't find neon bits and bobs for packaging, you can always hop over to funkytime and download this adorable neon wrap - all ready to go.

How easy is that?

For a spring gift, teacher gifts or mother's day - who wouldn't appreciate something bright and cheerful.

Okay Neon ... you are winning me over.  But I am definitely not going to wear a neon pink crop top with ripped shoulders and tease my hair... I have to draw the line somewhere.

Thursday, April 19, 2012

Wrap it up Thursday - Neon Coffee Sleeve


I had some felt pieces that arrived to be the back of my prize ribbon brooches, but the colors didn't fit the fabrics that I use for the ribbons.  In fact, when I put them all together, I realized how similar they are to the neon pinks, limes and peaches that you find in everything from cards to scarves to interior design.


1 - Hen & Chicks Collective in Rue Magazine (found in Discover Paper)  2 - Yeah Card from Ship and   Shape     3 - Spring at The Gap    4 - Color Collective (found through Decor8)


I must admit, I have mixed feelings about the neon and color combinations that are so prevalent this spring.  I was around the first time these colors hit the streets.  I had big hair and puffy sleeves and I am not sure it was my finest moment.  Perhaps those times weren't as stylish as these, but I am still not quite sure how to incorporate them into my current style.

So, instead,  I took advantage of these miscued color combinations and put together  a handy sleeve for my coffee that also holds my keys and coffee card.  I'm all set for a quick walk with Rufus.


I used an existing cardboard sleeve as a template and cut one large felt piece in neon green. (1) Then I added bits and pieces including a pouch for a card and a tab at one end for a key fob. With yarn, I sewed the felt pieces to the one large green piece, although you could do this with a machine. (2)  I added one small decorative peach strip with fabric glue.  Once I had my pieces in place, bottom left (3), I turned the sleeve inside out and wrapped it around a cup for positioning (4), also finding a spot to add a bit of elastic for give.  After I sewed the small piece of elastic to the overlapping ends (5) I turned the sleeve right side out and sewed up the the overlap closest to the key fob, so it all lays flat. (6) Now the sleeve is ready to go!


At one end I have a fob to add a car or house key and in the middle is a pocket for a coffee card or money.  I can just hook it to the dog lead and head out the door.


Hello Spring!
Related Posts Plugin for WordPress, Blogger...