

Last fall I made some felt rings with recycled cashmere in all the yummy fall colours. Today was such a welcome bright day and I thought that maybe I could use up some of the felt bits I have left over from my neon coffee cup holder. I have a wedding this weekend and I need one fun ring to pull it all together.

Supplies laid out on a sunny morning.
I couldn't help myself this morning from making something fun and bright. I have neon felt sheets, a needle and matching thread and some silver, adjustable ring forms.

Step 1 - felt strip about 6 X 1 inches
Step 2 - fold the strip lengthwise and press
Step 3 - snip cuts on the folded side and cinch with a running stitch (1/4 inch)
Step 4 - roll the strip starting in the centre and sew together and then stitch the flower you have created to the ring base
You can find more details on how to make the rings here.

I have grown to like these bright colours and I think it is fun to add a hit of colour like this to a spring outfit.
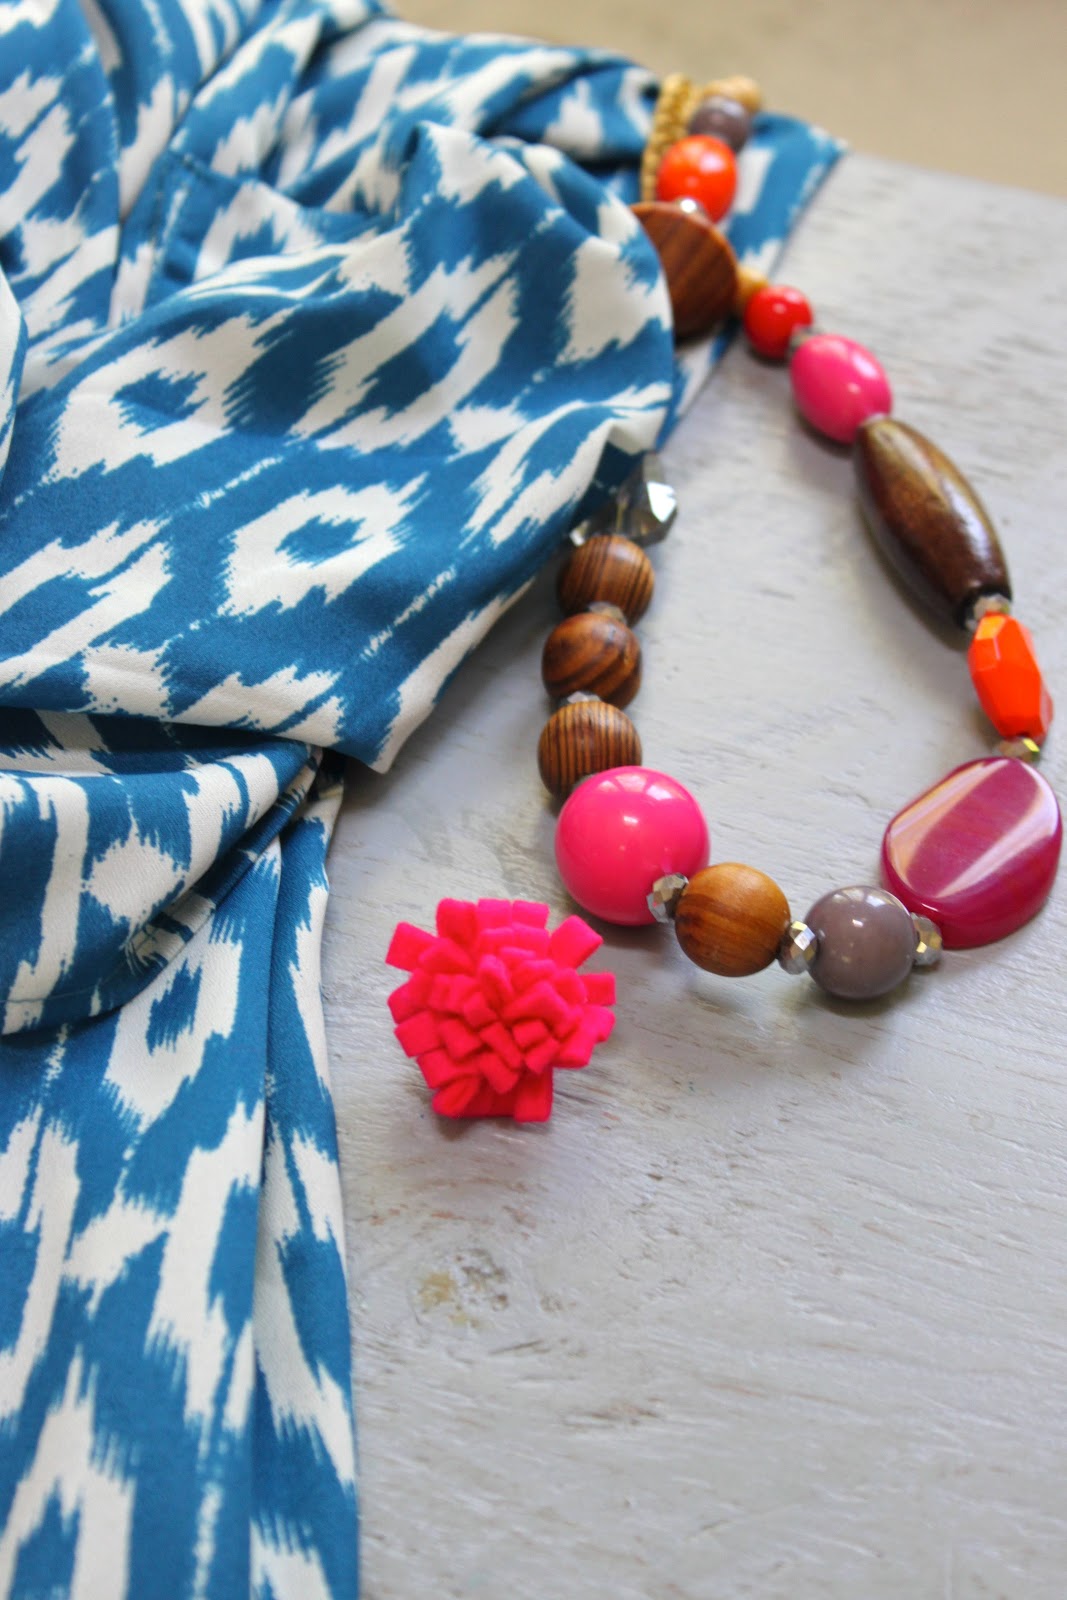
So for the wedding, the girls picked this dress out for me at Anthropologie. I wasn't sure it was me - but they were. It was shown with this necklace and although I never would have put the two together Helana and Ali insisted I needed to have it. This new felted ring, I think, will tie it all together.
Now I am off to find some fun bright pink wedges but I am going to keep the receipt because I need my stylists to approve it :) Seriously, I am not kidding...
Tracey, this ring is ADORABLE! And, by the way, will look perfect with your fabulous Anthropologie
ReplyDeletedress.
Hope you have a wonderful time at the wedding, and I look forward to connecting with you in the upcoming "Blogging Your Way" class! (Came across your blog via the BYW group email, and I'm so glad I did. Your blog is just lovely!)
Take care,
Deirdre
You are going to look fabulous darling ; )!! I love it all - and the punch of color from your adorable neon ring will be perfect!
ReplyDeletexo
Ashlyn
These colours are great, thanks for the tutorial!! And nice to meet you again in BYW :-)
ReplyDeleteNaw, so cute! Lovely colours!
ReplyDeleteThank you for the tutorial, I linked it in a series I'm writing for my blog (http://rock-n-roll-stops-the-traffic.blogspot.it/2012/06/diy-from-head-to-toe-12.html#more), hope you don't mind :)
Batman
ReplyDeleteArdahan
Adıyaman
Antalya
Giresun
NWKX5
sakarya
ReplyDeleteelazığ
sinop
siirt
van
İGKDS
https://titandijital.com.tr/
ReplyDeleteafyon parça eşya taşıma
düzce parça eşya taşıma
erzincan parça eşya taşıma
elazığ parça eşya taşıma
86RP
1D2E4
ReplyDeleteÇanakkale Şehirler Arası Nakliyat
Afyon Şehir İçi Nakliyat
Çerkezköy Koltuk Kaplama
Giresun Şehir İçi Nakliyat
Çerkezköy Fayans Ustası
Bilecik Lojistik
Yalova Lojistik
Niğde Şehirler Arası Nakliyat
Muş Şehir İçi Nakliyat
EA06F
ReplyDeleteNevşehir Parça Eşya Taşıma
Amasya Şehir İçi Nakliyat
Ordu Evden Eve Nakliyat
Kırklareli Şehirler Arası Nakliyat
Iğdır Lojistik
Eskişehir Lojistik
Burdur Şehir İçi Nakliyat
Ünye Televizyon Tamircisi
Samsun Evden Eve Nakliyat
01FF2
ReplyDeleteHakkari Parça Eşya Taşıma
Muğla Şehirler Arası Nakliyat
Çorum Lojistik
Kilis Şehir İçi Nakliyat
Karaman Lojistik
Ünye Çatı Ustası
Muğla Lojistik
Hatay Lojistik
Çerkezköy Oto Boya
014F7
ReplyDeleteSilivri Boya Ustası
Muş Şehir İçi Nakliyat
Manisa Parça Eşya Taşıma
Okex Güvenilir mi
Tokat Şehirler Arası Nakliyat
Ünye Çekici
Samsun Lojistik
Referans Kimliği Nedir
Urfa Evden Eve Nakliyat
584E2
ReplyDeleteMamak Fayans Ustası
Malatya Şehirler Arası Nakliyat
Konya Şehirler Arası Nakliyat
Kripto Para Borsaları
Uşak Evden Eve Nakliyat
Isparta Lojistik
Telcoin Coin Hangi Borsada
Kırklareli Lojistik
Diyarbakır Evden Eve Nakliyat
B01C3
ReplyDeleteIğdır Şehirler Arası Nakliyat
Hakkari Şehir İçi Nakliyat
Sivas Şehirler Arası Nakliyat
Antalya Evden Eve Nakliyat
Etimesgut Boya Ustası
Kırşehir Şehir İçi Nakliyat
Aion Coin Hangi Borsada
Bolu Şehirler Arası Nakliyat
Karabük Lojistik
89A57
ReplyDeletebuy masteron
order steroids
https://steroidsbuy.net/steroids/
Bingöl Evden Eve Nakliyat
Samsun Evden Eve Nakliyat
Kars Evden Eve Nakliyat
peptides
order sarms
buy boldenone
EAF17
ReplyDeleteSakarya Evden Eve Nakliyat
Kırklareli Evden Eve Nakliyat
Tekirdağ Boya Ustası
order steroid cycles
order sustanon
Adana Evden Eve Nakliyat
buy clenbuterol
Denizli Evden Eve Nakliyat
Kayseri Evden Eve Nakliyat
0C360
ReplyDelete%20 binance indirim kodu
11328
ReplyDeletetelefonda canlı sohbet
kocaeli ücretsiz sohbet
bursa kadınlarla görüntülü sohbet
balıkesir telefonda kadınlarla sohbet
Tekirdağ Canlı Görüntülü Sohbet Odaları
mobil sohbet sitesi
bartın mobil sohbet odaları
Bingöl Canlı Sohbet Siteleri Ücretsiz
bedava sohbet chat odaları
F0AE8
ReplyDeleteCoin Oynama
Soundcloud Dinlenme Hilesi
Likee App Takipçi Hilesi
Arg Coin Hangi Borsada
Soundcloud Dinlenme Satın Al
Bitranium Coin Hangi Borsada
Tiktok Takipçi Satın Al
Trovo Takipçi Satın Al
Binance'de Kaldıraç Var mı
3C4AA
ReplyDeletechainlist
arbitrum
trezor suite
poocoin
uwu lend
shiba
satoshi
ledger live
poocoin
65EBC
ReplyDeletedexscreener
DefiLlama
yearn finance
quickswap
avalaunch
phantom wallet
uniswap
defillama
pancakeswap
شركة مكافحة الصراصير بالاحساء BQTZnQvSFz
ReplyDeleteEB68686CEB
ReplyDeletetakipçi satın al ucuz
C63F3D9A57
ReplyDeletetiktok en ucuz takipçi
AAB1E38274
ReplyDeleteinstagram takipçi gönderme
5A3E5062BC
ReplyDeletetakipçi arttirma
45B2EF8BD0
ReplyDeleteorganik türk takipçi
023A5D64A7
ReplyDeleteucuz gerçek takipçi
youtube beğeni satın al
mobil ödeme takipçi
türk takipçi
bot takipçi
665D81CC1C
ReplyDeletemmorpg oyunlar pc
sms onay
mobil ödeme bozdurma
takipçi satın alma
-